A quick checklist before getting started with Institutional Cliams in EZClaim
Note: These features are only available if the Institutional Claims Add-On is activated.
See Institutional Claims Add-On for more information on activating.
To easily navigate this article, use the links provided below. At the end of each section, click "Back to Top" to return to this menu.
Before working with Institutional Claims:
- Enter the Institutional Activation Code in the Add-On Services Library.
- EZClaim provides the code.
- Update the claim type in the Payer Library to Institutional only for relevant payers. It is important to note that payer IDs may differ for Institutional and Professional claims submitted to the same payer. Please verify the payer IDs with your clearinghouse as required.
- Set up Submitter/Receiver Library Institutional Entry using the ANSI 837 Institutional export format.

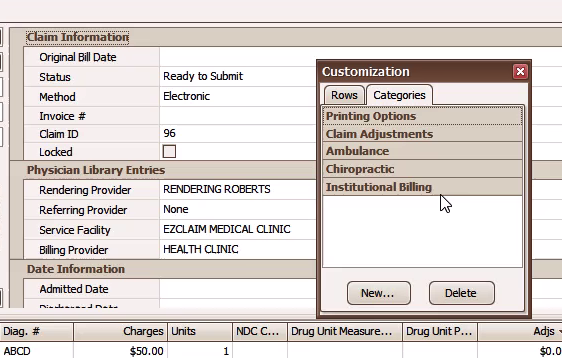
- Activate the Institutional Billing section of the Claim grid


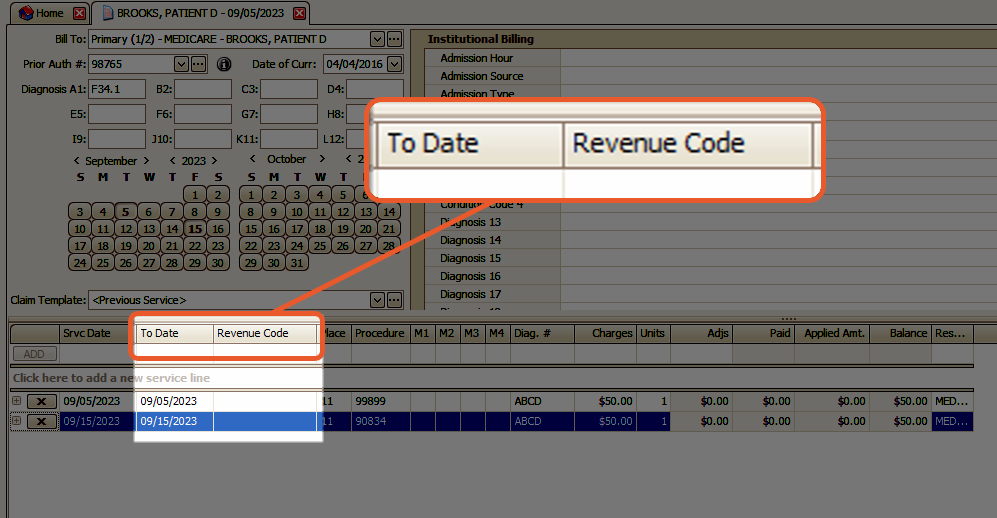
- Add Revenue Code and To Date columns on the Service Line grid

Important: Institutional grid layouts are user-specific.
ANSI 837 Institutional
SV2 02-1: This field (procedure code qualifier) is typically ‘HC’. A qualifier of ‘HP’ will be used if the procedure code matches the following characteristics:
- The first character is ‘1’ through ‘5’
- The second character is ‘A’ through ‘E’
- The third character is ‘F’ through ‘J’.
Print Setup
Note: This process requires the ADMIN password
Once you have completed all the necessary steps in the checklist, a new section for Program Setup will become available for managing the options related to printing institutional claims.
To access this section, click on Tools, then select Program Setup, and finally choose Printing Institutional Claims.

