- Knowledge Base
- EZClaim Cloud
- Technical
Setting Import File Folder on Azure (Windows)
Set your import file folder location in EZClaim
Please view this video or follow the steps below to set your import file folder location in EZClaim from your local Windows computer.
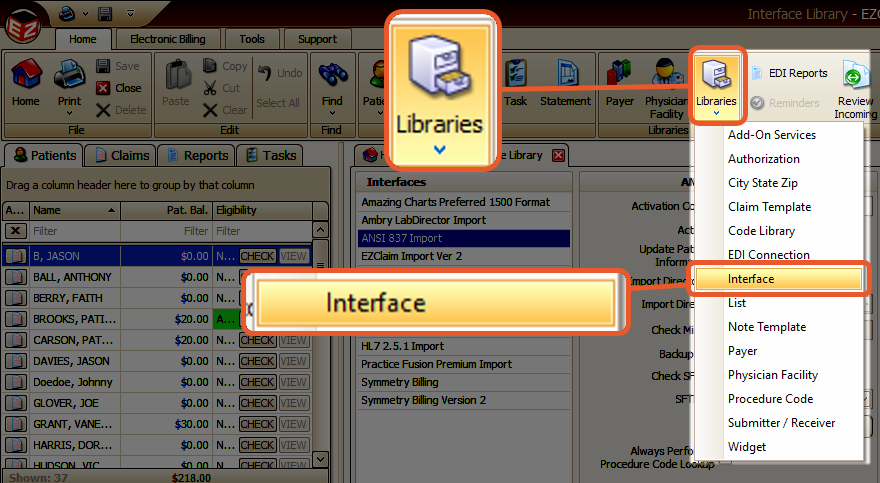
- Go to the Interface Library
- Enter your Admin Password
- If you do not know your Admin password, you will either need to contact your account admin or request a password reset from EZClaim by creating a ticket
- Enter your Admin Password
- Choose the correct import format
- Enter the Activation Code
- If you do not know the activation code, please get in touch with EZClaim Support
- Find more in-depth information in the Interface Library article
- Set the Import Directory
- Click on This PC
- Click on C on <your computer name>
- Click on New Folder in the upper left-hand corner
- Name the folder EZClaim Imports (or a name of your choice)
- Wait a moment for the folder to be re-named
- Double-click on the EZClaim exports folder
Note: You can also select an existing folder as your import folder, but no files can be in the folder when you save.