Everything you need to know about setting up the Amazing Charts Interface
To easily navigate this article, use the links provided below. At the end of each section, you can click on "Back to Top" to return to this menu.
Accessing the Amazing Charts Interface
Amazing Charts Preferred 1500 Format
Accessing the Amazing Charts Interface
To access the Amazing Charts Interface, please follow these steps.
Note: This process requires the ADMIN password
- Go to the Libraries section and click on Interface.

- Enter your Admin Password
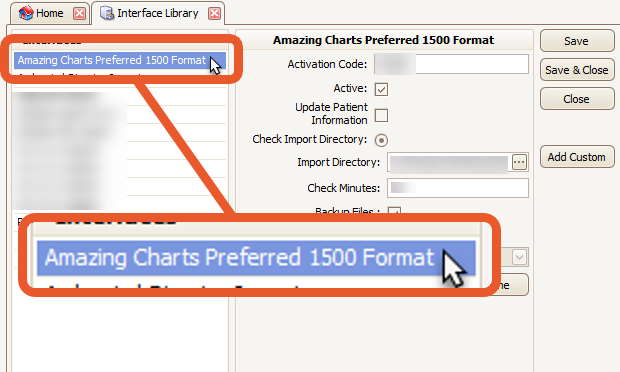
- Select the Amazing Charts Preferred 1500 Format

Amazing Charts Preferred 1500 Format
In this section, we will explore the different setup fields that are necessary for configuring the Amazing Charts Preferred 1500 Format Interface.
Here is a visual representation of the setup menu for Amazing Charts Preferred 1500 Format:

What Each Field Means

- Activation Code: The Activation Code is a unique code provided by EZClaim that allows you to enable the interface. This code is necessary to activate and use the Amazing Charts Interface effectively.
- If you don't yet have an Activation Code, please contact EZClaim Support
- Active: If the checkbox is not selected, EZClaim will not perform a check for new files.
- Update Patient Information: When new patient data is received, it will replace the existing data in the interface.
- Check Import Directory/Check SFTP: This field allows users to specify how EZClaim will access the files. Users can choose to access the files through a directory on their own network or use SFTP to pull files from a remote source.
- Import Directory: This field specifies the location of the directory that holds the files to be imported into the interface.
- Check Minutes: This field allows you to specify how frequently EZClaim will check the directory for new files to be added to the interface review screen.
- Backup Files: If checked, copies of the files will be saved in a backup directory in the import directory. The filename will contain the date and time it was brought into the company file
- SFTP Site: Select the SFTP site from which you want to retrieve files. This is set up in the connection library. See EDI Connection Library for more information on setting up EDI Connection entries.
- Physician Overrides: For more information on this feature, please see "Physician Overrides" above.
Note: only the following Secure File Transfer settings are used during the SFTP import:
- User Login
- User Password
- Host Name
- Port
- Download Directory
- Download File Pattern (Optional)
