This article covers additional areas within the Claims Screen
To easily navigate this article, use the links provided below. At the end of each section, click "Back to Top" to return to this menu.
Calendars
Select the desired service line dates by simply clicking on a calendar date. Utilize the < > arrows to effortlessly navigate between different months or years.

Special functions available after selecting the From Date:
- Pressing the CTRL (or Cmd for MacOS) key while clicking a date will automatically set the 'To Date' for the newly added service line.
- Pressing both the CTRL+SHIFT (or Cmd+Shift for MacOS) keys will set the To Date and update the number of units to match the number of days in the selected date range on the newly added service line.
- Pressing the SHIFT key while clicking a date will add a service line for each date between the selected From and To dates.
Claim Notes
- Click in the Click here to add a new note field at the bottom of the Claim screen to enter the Claim note.

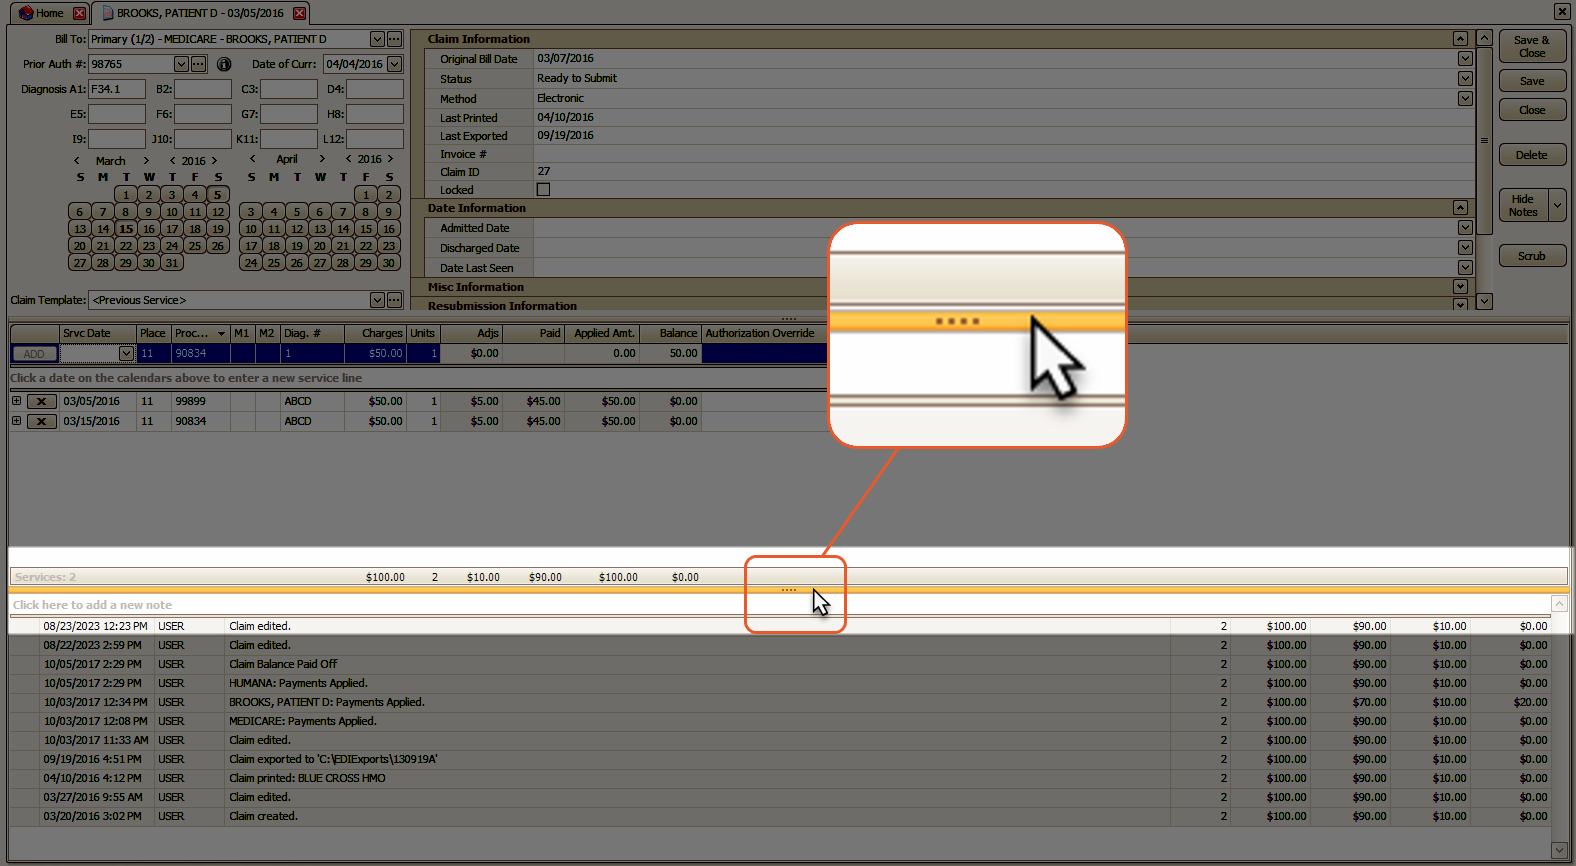
- There is a splitter bar between the claim notes and service lines that can be adjusted as needed.

Delete Note
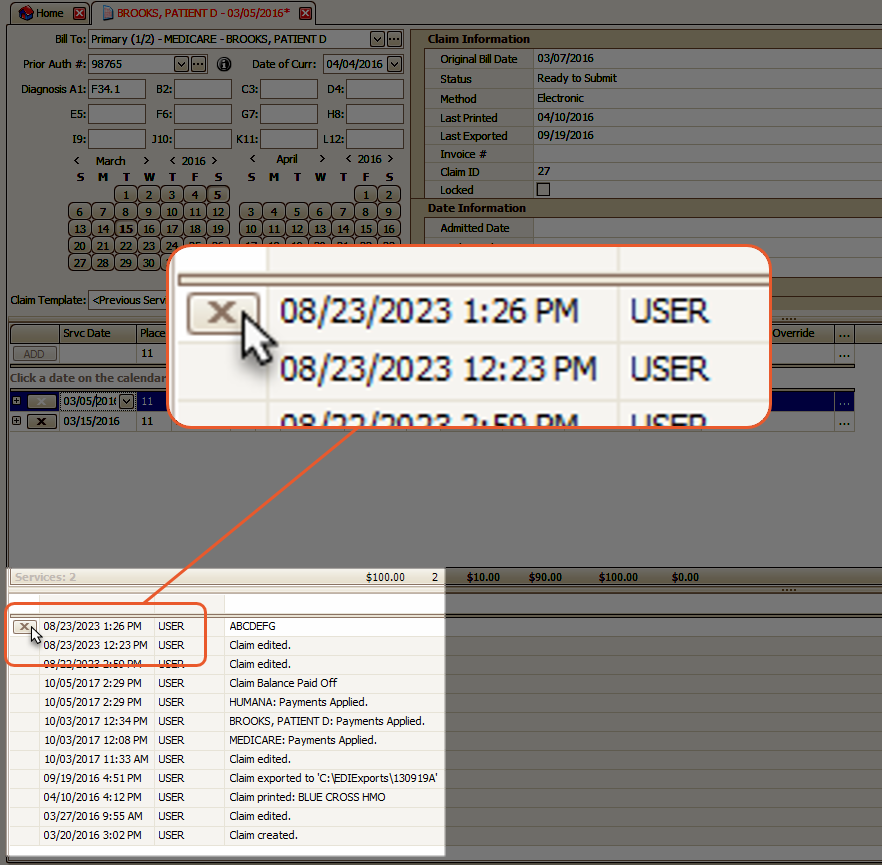
To delete a note, click on the next to the note. Only the user who originally entered the note has the privilege to delete it.
Note: Notes automatically generated by EZClaim cannot be deleted

Note Editor
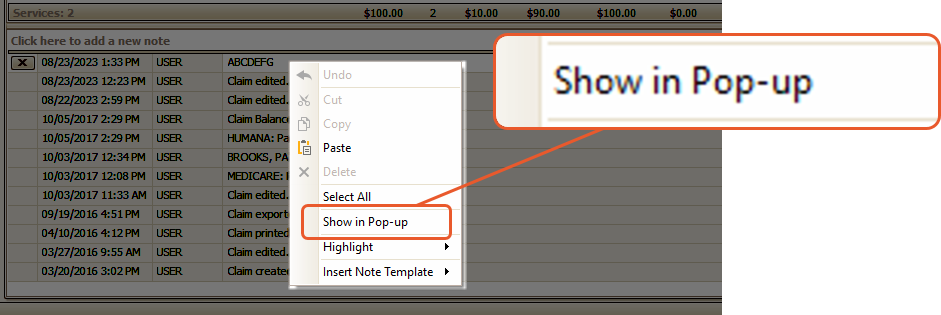
To view notes in a pop-up window, simply right-click on the note and select Show in Pop-up. This will open a larger editing window, providing you with more space for editing. You can also print the individual note by clicking the Print button.


Highlighting Notes
You can highlight notes by
- Right-clicking a note
- Select Highlight
- Select a color to highlight the claim note

